Imagery:

Week in Review: We were asked to do an Adobe Spark post, with text, so I decided to whip up a pic for my instagram. On this instagram is where I post some photo-glitching that I recently started trying out. It makes for some really cool photos, and I’m always happy when it works out just right. I post each pic with some inspirational caption, to make it fun. I encourage you to go check out PureRainBlossom if you want to see my glitch-gallery. Pretty moderny type stuff. I’ve just been glitching photos off my phone, so unfortunately I don’t know the original author of the posts. Wish I could attribute to them, but tagging will have to do. It’s simply been years I’ve had these pics, so the author would be a task to find. I’ll most likely glitch this photo before posting, to keep a running theme.

Now on Wednesday we were all supposed to make a Cheat Sheet for this quest. Mine is on the left sidebar listed under the pages header. It was a quick quest, and useful if I ever want to show off my themed Imagery at the same time. Most likely going to use these same tactics for showing off my square Instagram posts, the glitch theme. Pretty cool! I’m already thinking of doing 3×3 with the Blossom pic I posted above right in the center of the 3×3 grid.
Self Guided Learning: I used this link to mess around in Illustrator. It was extremely fun! (Teela’s Tuesday was unrelated to what I do in the MacLab, so I skipped it this week)

Week 16 Effort: This week was a good week. Along with working on Illustrator, I also worked on quests. Code was fun, and I tried to do the hotdog space. I’ll post the hotdog space when I finish it (I know I can post rough drafts but I don’t like how it’s turning out at the moment). I got here early, as per usual, and recently I noticed I’ve been spacing on collecting minutes. Luckily everything is time-stamped, so the days without time purchased I just counted up from the early bird purchase to find how much minutes I get. I ended up buying a whopping 500 min. Rubric: You gave it your all: A
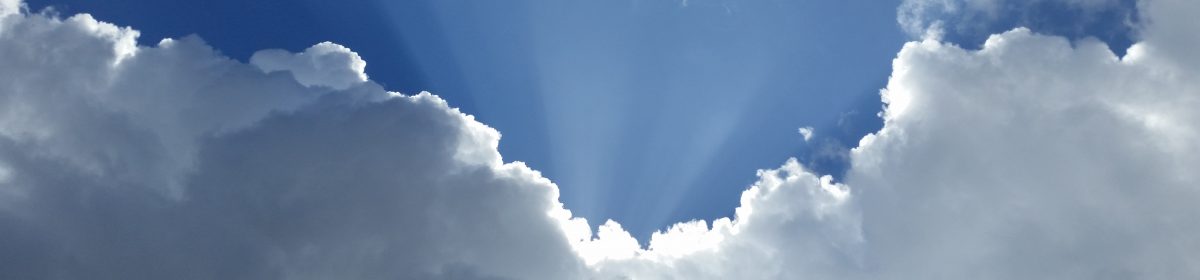
Week 17 Goal: I still forgot to make a cartoon this week. I ended up making the mirrored image above, which was pretty awesome. There’s another Saturday school so I want to do it then!
Long Term Goal: The MiniLab is awesome. I made a lot of Brainstorm quests, (see MiniDocumentation) so when Brainstorm Members all catch up, the MiniLab will really start to kick off I feel.
Reflection: Thoughts about glitching pictures: I love it. I hope to find out what effects different file types and what not to take out. The more I know the more I can precisely get the effect I want. What I’ve learned so far: PNGs have really nice glitching, effects the whole picture mostly. But what code you take out, you must replace with something. Take out 5 random characters, you better put the same amount back, lest you render the file useless. JGPs are a lot more linear and hardy, you can take out entire sections, shifting the line, since it’s built left to right, top to bottom. Where in the code you change is where in the picture it changes. Colour does change too, but PNGs see more global “flops” of colour, and JPGs just get brighter, darker, or more blue or what not. PNGs like to inverse their colours, kind of a nice effect. GIF images are a combination of both… what you take away, you must add. But however, there is usually no color changes, and linear shifts are more pronounced. Also if you add anything without taking anything away, it makes noise past that point. Lastly, if you take away father down and add a few lines up, it shifts each row a few pixels to make a stair pattern. How to do it: On a mac, make the file a .txt extension, edit in any notepad application, and put it back to the previous file type after editing. On a windows, you can use a free open-source program called Notepad++ to directly edit the file without changing extensions. This way is highly preferred because you can ‘ctrl s’ to see what you did and ‘ctrl z’ if you don’t like it.