
How to:
Borders
Well, my notes on this quest should help you.
Find the spacing in between the multiple pictures you have in Photoshop. You want to have even spacing between them and the same amount of spacing around the border. When you find out the spacing, use Image – Canvas Size to increase it.
Great! Nice spacing.
Ok now we want a background colour. This is the easy part. If there is already a background layer with colour on it, no prob. Just change it with your favourite fill command under Edit – Fill
If not, make a new layer, drag it to bottom of layers, select everything on that layer, and you can use the Edit – Fill (same as shift + delete), option + delete (for foreground colour), command + delete (for background colour). Also control + delete is to replace with transparency, which may be useful for making PNGs.
Ok now select you gallery photos by using command + shift and clicking on each concurrent thumbnail layer that each photo is on. This will marque them, so next is to apply a stroke to that from Edit – Stroke. 4 px white looks nice on a black background in my case… Here’s the Image!
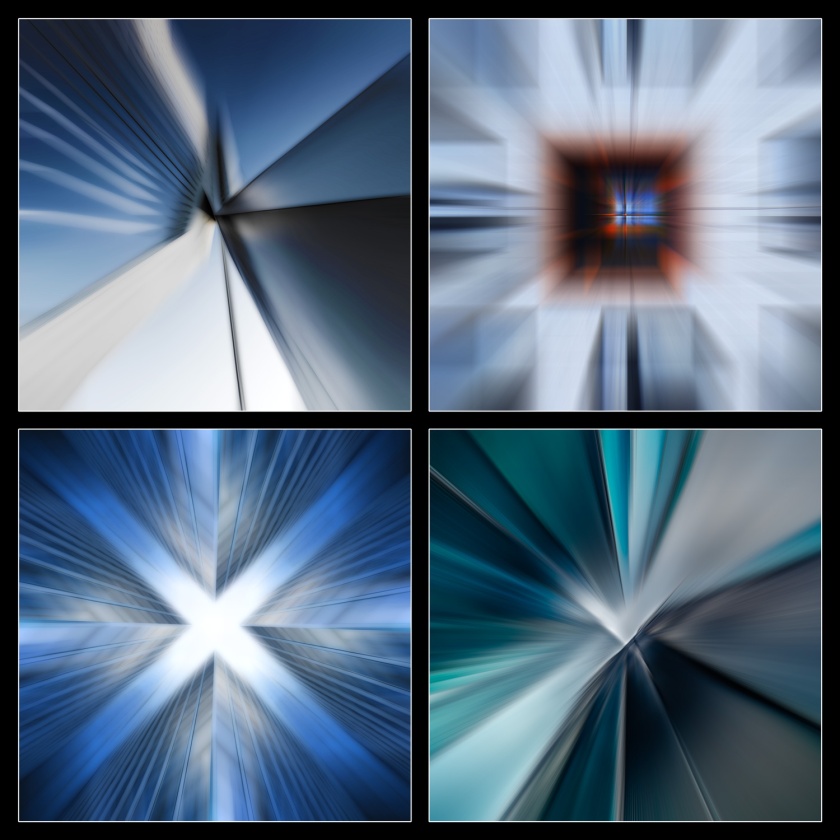
Glitch imagery
Copy the original image and make the new JPG or PNG image file into .txt
On a JPG, don’t remove near the header (first 200-ish lines)
On a PNG, replace what you remove with some other character (still try and avoid the direct header, 20 lines or so)
When you are done, place the old extension back on and hope it works 😉
Connecting
To another MacLab computer.
Go to finder, see under shared, click all (little globe thing).
There you will see a list of all computers, click yours and connect as. Use the login chain you would use if actually logging in to that mac under your account. If you don’t have an account, use admin.
